
Dental Wax Disc Milling Guide: Wax-Up and Press Workflow, Burs & Parameters
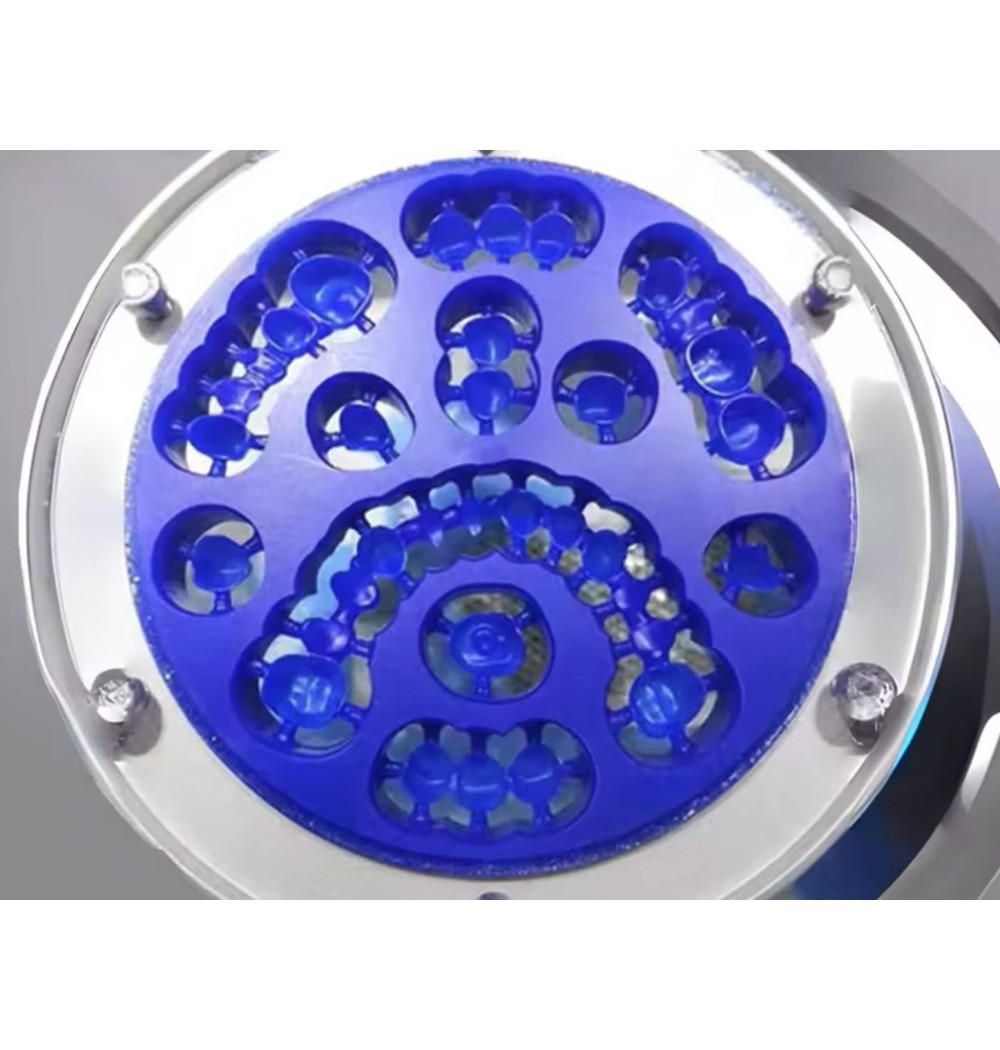
Why Dental Labs Still Mill Wax
The dental wax disc gets little attention next to zirconia and 3D printing, but it remains one of the most useful blanks in a milling lab. It is inexpensive, quick to cut, easy to inspect on the model, and compatible with workflows that still depend on a clean lost-wax burnout.
We use milled wax for three jobs. Castable patterns for pressed lithium disilicate — the pattern gets sprued, invested, burned out, and replaced by pressed ceramic. Patterns for cast metal partial denture frameworks, crowns, and copings. And full-contour diagnostic wax-ups or try-ins that can be seated and adjusted before we commit zirconia or another costly material.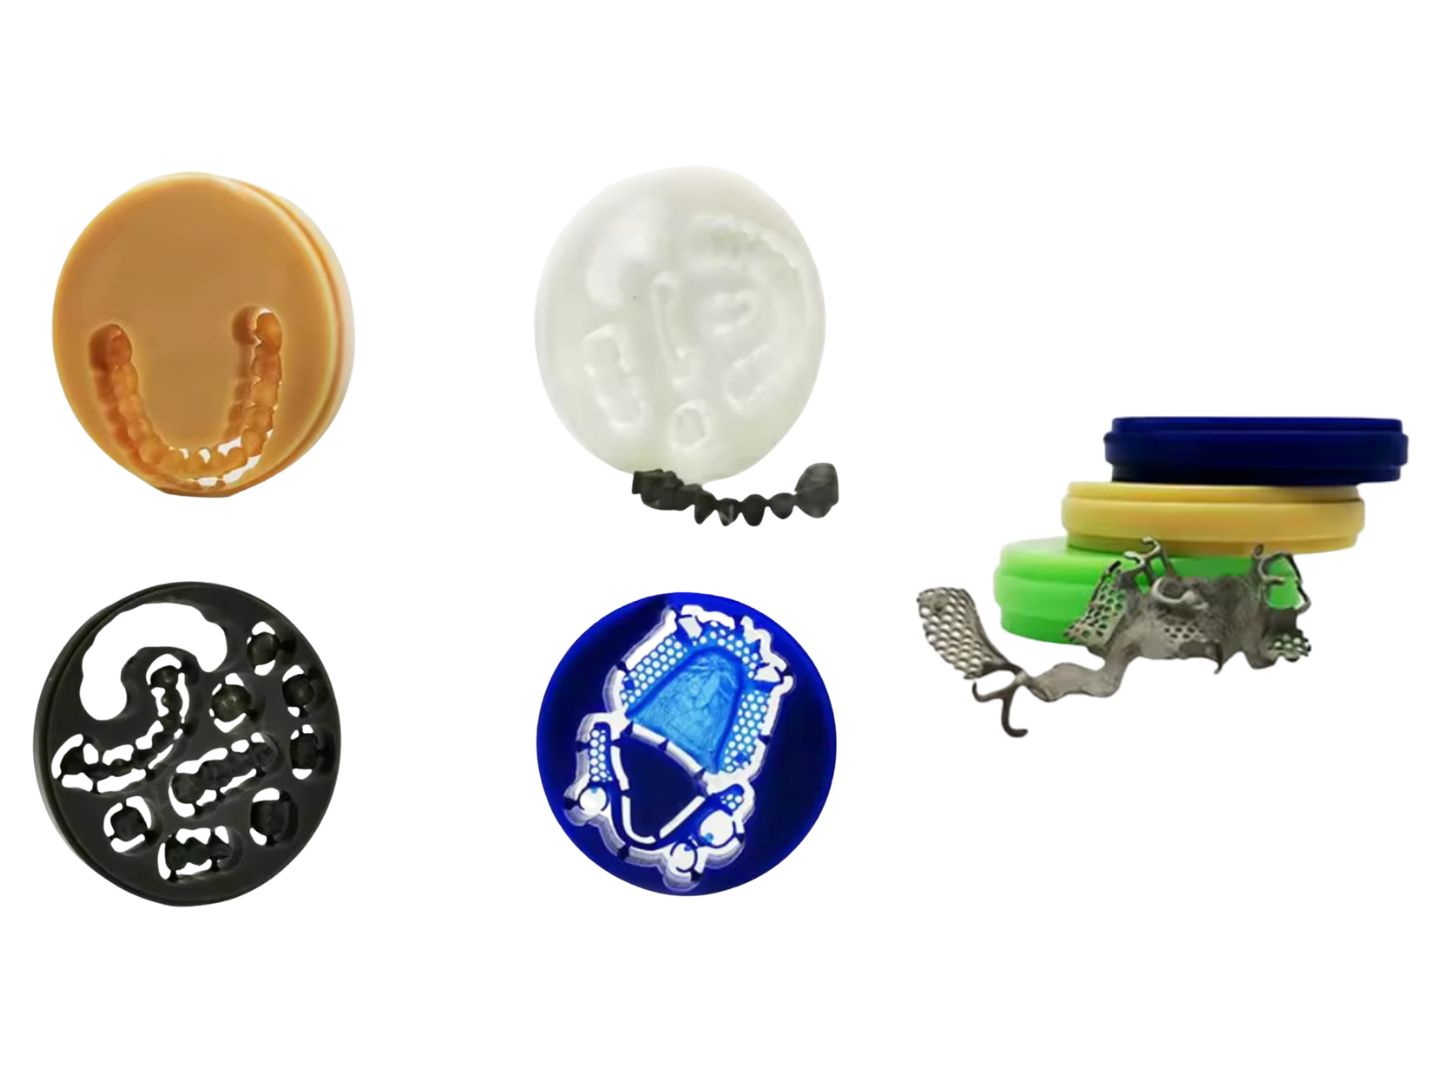
Compared with a hand wax-up, milling gives us consistency between technicians, repeatable dimensions, and a digital design we can reuse. If a pattern is damaged during investing, we can mill it again instead of rebuilding it from scratch.
Castable resin printing has its place, especially when a lab needs dozens of patterns in one batch. For one to three units, however, wax is still our default. Good dental milling wax burns out with near-zero ash, without the resin residue that can contaminate investment. And there are no print-shrinkage compensation runs to babysit. For a few restorations, milling is usually faster too — the pattern comes off the machine ready for inspection and spruing. For a broader view of where wax fits, see CAD/CAM milling materials compared.
Choosing a Dental Wax Disc: Size, Hardness, Ash Content
Start with the holder format used by the machine. A wax blank that looks almost right is not good enough: the outside diameter, locating step, and thickness must all match the holder and CAM setup. The common formats are:
| Disc system | Typical machine families | Typical thicknesses |
|---|---|---|
| 98 mm with 10 mm step | Open systems including Roland, VHF, imes-icore, and most Chinese mills | 10-25 mm; 14, 16, 20, and 25 mm are most common |
| 95 mm | Zirkonzahn | 10-25 mm, depending on holder and indication |
| 89 mm or 71 mm | Amann Girrbach Ceramill | 10-25 mm, depending on system |
For an open mill, a 98mm wax disc for open systems is normally the starting point, but verify the step geometry as well as the diameter. CADBURS lists several formats in its dental wax discs category.
Hardness matters more than color. A harder, slightly brittle wax mills crisp fissures and tends to leave margins that snap clean. A softer wax is more forgiving during handling, but it can smear when the tool gets warm. Blue, green, and beige are common colors, yet color is mostly a manufacturer convention rather than a reliable indication of cutting behavior. Read the hardness specification and test a new batch before using it for demanding margins.
For pressed restorations, ash content is the specification we care about most. Look for residue-free burnout and, preferably, less than 0.1% ash. A cheap wax that leaves residue can cause incomplete pressing, surface contamination, or a rough intaglio. Those defects cost more bench time than the cheap blank ever saved.
Burs: Use Dedicated PMMA/Wax Tools, Not Your Worn Zirconia Burs
Wax is the material where labs most often cheat. A half-dead zirconia tool gets reassigned because the material is soft, and the resulting pattern comes out smeared or chipped. A dull edge does not form a clean chip. It rubs, rubbing produces heat, and heat softens or melts wax.
Proper wax milling burs are sharp, usually uncoated carbide tools with polished flutes and generous chip gullets. One or two flutes give gummy chips room to evacuate instead of packing around the cutting edge. A coating is not automatically wrong, but edge sharpness, flute polish, and chip clearance matter more here than wear resistance.
A practical three-bur setup uses a 2.0-2.5 mm tool for roughing, a 1.0 mm tool for the second stage, and a 0.6 mm tool for occlusal anatomy and margin finishing. Some CAM strategies combine stages, but this progression is a sound baseline for crowns, copings, and milling wax patterns. Replace the finishing tool when margins begin to lose definition; do not wait for visible breakage.
Shank diameter is machine-family dependent. A 3 mm, 4 mm, or 6 mm shank cannot be selected from the material name alone, so order for the actual spindle and tool changer. CADBURS stocks PMMA/wax milling burs for Roland, VHF, imes-icore, Amann Girrbach, Ivoclar, XTCERA, UP3D, and other platforms. UP3D users can also check the UP3D P53 compatible bur guide before matching positions and diameters.
Parameters and Strategy: Cut, Don't Rub
Always mill wax dry; coolant is unnecessary, and wet slurry mixed with wax chips is a cleaning problem.
Wax fails from heat, not force. Every useful parameter choice should help the edge form a real chip that carries heat away: moderate spindle speed, a generous feed, and enough chip load to prevent rubbing. Very high RPM combined with a timid feed produces a polished, melted-looking surface rather than a clean cut.
Most lab mills run wax well with the stock wax or PMMA CAM template. Use that as the baseline. If adjustment is needed, drop spindle speed below the zirconia setting and increase feed cautiously instead of slowing everything down. Check the machine manufacturer's limits and the bur supplier's range rather than copying numbers from an unrelated spindle.
Let the 2.0 or 2.5 mm roughing bur remove most of the volume in a single roughing stage, then leave roughly 0.2-0.3 mm for the finishing passes. That allowance supports thin areas while still giving the smaller tool enough material to cut. PMMA follows much of the same soft-material logic, which is covered in the PMMA milling guide.
Margins and thin walls
Mill margins late in the sequence, after the bulk around them has been relieved. Keep pattern walls and margins at sensible thicknesses. Pressing margins are hand-finished anyway, and chasing a 0.2 mm knife edge in CAD/CAM wax often creates chipping without improving the final restoration.
Room temperature is a real process variable. Wax stored in a cold winter lab becomes brittle and chips more easily at thin edges. Let the blank reach normal room temperature before milling, particularly when it has arrived from a cold delivery vehicle or storage room.
Nesting and sprue or connector placement
Place connectors on non-critical surfaces where their removal will not damage a margin, contact, or detailed anatomy. Support long patterns evenly and avoid narrow connectors that can fracture during the final pass.
After milling, cut the pattern free with a warm instrument instead of snapping the connectors. Seat the castable wax pattern on the die, check contacts and margins, and make minor corrections before investing. That physical inspection is one of the main reasons to use a wax disc for dental milling.
Troubleshooting Milled Wax Patterns
Melted or smeared surface
Check the bur first, then spindle speed, then feed. Replace a dull tool, reduce excessive RPM, and increase a feed that is too slow. Cleaning the bur will not restore a rounded cutting edge.
Chipped margins
Let a cold or brittle blank reach room temperature. Check whether the finishing pass is too aggressive and confirm that the margin is cut after surrounding bulk has been removed. Swap in a fresh 0.6 mm bur; if the margins come out clean, the old tool was the problem.
Wax packed in the flutes
The tool may have too many flutes, poor flute polish, or inadequate chip space. Clean it with steam or warm water according to the manufacturer's instructions. Never scrape the cutting edge with a metal instrument because one small nick can ruin its finish.
Pattern cracked at removal
Cut connectors instead of snapping them. Also inspect the disc clamp: excessive tightening can distort the blank and leave internal stress in the pattern. Secure means held without movement, not crushed into the holder.
Rough intaglio after pressing
Check the investment procedure, burnout schedule, and wax ash specification before blaming the mill. Milling defects normally appear on the wax pattern itself; residue or investment breakdown can create roughness only after pressing.
Frequently Asked Questions
What is a dental wax disc used for?
A dental wax disc is used to mill castable patterns for pressed ceramics and cast metal frameworks, as well as diagnostic wax-ups. The finished pattern can be checked on the model, sprued, invested, and burned out through a conventional lost-wax process.
Do I need special burs to mill wax?
Yes, use dedicated PMMA/wax burs with sharp edges, polished flutes, and adequate chip clearance. Worn zirconia burs tend to rub rather than cut, generating heat that smears the wax and softens fine detail.
Why does my milled wax pattern look melted or smeared?
The surface is overheating because the tool is rubbing. A dull bur is the first suspect, followed by excessive spindle RPM and a feed rate that is too slow to produce a proper chip.
Is milling wax better than 3D printing castable resin?
For one to three units of press work, milling wax is usually better because good wax burns out more cleanly and needs less process compensation. Castable resin printing becomes more efficient when many patterns can be nested and produced in one batch.
Wax discs are inexpensive, forgiving, and still one of the cleanest routes to a pressed restoration. Treat them as a real milling material, with suitable burs and a chip-forming parameter set, and they behave predictably. CADBURS carries both the wax discs and the matching burs for common dental milling platforms.